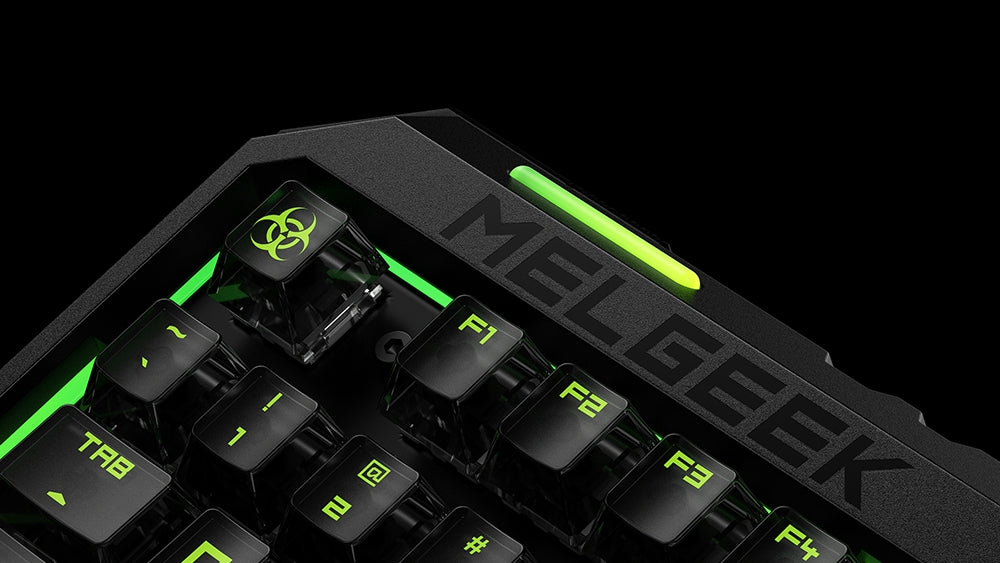
Are you tired of the hassle that comes with managing your computer and peripheral devices? If so, you'll be glad to hear about the new desktop management software from MelGeek. Introducing MelGeek Hive - the ultimate tool for simplifying device management.
MelGeek Hive offers a comprehensive platform for managing your computer peripherals. Whether you're looking to personalize settings for your MelGeek keyboard, mouse, or other devices, or simply store and share settings information, MelGeek Hive has got you covered.
But MelGeek Hive isn't just about customization - it also provides users with powerful tools for testing the functionality and performance of their peripherals. With MelGeek Hive, you can rest assured that your devices are running at peak performance.
In this blog post, we'll dive deeper into the features and capabilities of MelGeek Hive. From setting up your devices to fine-tuning your settings, we'll cover everything you need to know about using this powerful desktop management solution.
So get ready to take control of your device management experience with MelGeek Hive. Let's get started!
Table of Content
- 1. MelGeek Hive install & setting
- 2. Mouse Testing Tool
- 3. Manage Your keyboards
- 4. MelGeek Hive Future Updates
1. MelGeek Hive Install & Setting
1.1 Download
Please download the latest version of KBTools from our website:melgeek.com , or contact our customer service : store1@melgeek.com
MelGeek Hive Download
There are 3 different versions, Windows/MacOS / Linux version. Please download the proper one to your computer.
1.2 Install
1.2.1 Installation on Windows
- Double click the downloaded file to run the installation.
- Choose English as the default language.

- MelGeek Hive is defaultly installed on the C drive, with the installation path being "C:\ProgramFiles(x86)\MelGeek Hive". You can change the installation location by clicking "Browse" and select the desired target directory, but make sure the disk has free memory of 180MB at least.
- You can choose to create a shortcut on the desktop or not and then click next to finish the installation
- Clicking on the "MelGeek Hive" shortcut icon on the desktop to run MelGeek Hive.

1.2.2 Installation on Linux
- Right-click the downloaded file to install MelGeek Hive, click on "Properties", select the "Permissions" tab, and check the "Allow executing file as program" option to set the installation package as an executable program
- Run a terminal, and navigate to the directory of the installation package. Execute the following command: "./MelGeek Hive-Linux-V1.0.1.run". After entering the administrator password, press Enter to start the installation process.
- When the software is installed, it will show the installation directory and prompt you to restart the computer.
- The software will create a shortcut icon on the desktop of the computer.
- Clicking on the "MelGeek Hive" shortcut icon on the desktop to run MelGeek Hive.
1.2.3 Installation on Apple MacOS
- Double click the download the file to install MelGeek Hive.
- Select the MelGeek Hive icon with the left mouse button and drag it to the desktop. Wait for the software to install completely.
- Clicking on the "MelGeek Hive" shortcut icon on the desktop with the left mouse button to run the application.
Warm Tips
- There are a few cases of Windows 10 report error when installing MelGeek Hive. Please turn off your firewalls and retry installing the app.
- MacOS may reject the installation process from unauthorized sources. Please allow any sources of applications, and run the file as an administrator to finish installing.
1.3 Settings
Welcome to MelGeek Hive settings. Here you can change the color scheme, switch languages, and enable auto-start and auto-upgrade settings. With MelGeek Hive, you're in control.

MelGeek Hive comes with an auto-upgrade function that notifies users whenever new versions become available. Users also have the option to manually upgrade their software.

1.4 Account Management
MelGeek Hive also provides functions for account registration, login, and management.
1.4.1 Login
Registered users can log into their accounts from the login page of MelGeek Hive, which offers two convenient login options: WeChat and Google account login. Prior to logging in, users are required to confirm their agreement to the privacy policy by checking the corresponding box.

1.4.2 Registration
On the account registration page, users can create a MelGeek Hive account by providing their name, email, password, confirmation password, and verification code (which can be found in their registered email after clicking the "send" button). Users are also required to check the box indicating their agreement to the privacy policy in order to proceed with the registration.

1.4.3 Account Management
After logging in, MelGeek Hive offers a password reset and logout function on the account management page.

2. Mouse Testing Tool
Under the "Tools" section of MelGeek Hive, we provide a mouse testing tool that allows users to perform functional and performance tests on their mouse.

After clicking the "Mouse Test" button, the main interface of MelGeek Hive's mouse testing tool will appear. The main interface is divided into three areas (as indicated by the red text in the image):
- Mouse Function Test Display Area:This area displays the mouse reporting rate, X and Y coordinates, mouse wheel scrolling (Z), left button clicks (LB), right button clicks (RB), middle button clicks (MB), forward button clicks (4B), and backward button clicks (5B).
- Mouse Movement Trajectory Display Area:This area displays the mouse movement trajectory when mouse test data collection is enabled.
- Function Menu Area:This area provides options to hide/show the mouse icon (H), start the test (S), end the test (E), clear test data (C), and exit the testing tool (Esc) using keyboard shortcuts.

2.1 Mouse Return Rate Test
As you move the mouse, the software will continuously detect and display the current mouse reporting rate.
Note: When testing high-report-rate mice, higher computer performance is required. If computer performance can not meet the requirements, there may be deviations in the data.

2.2 Mouse Function Detection
The mouse function test is used to test the displacement of the mouse and the effectiveness of each functional button, corresponding to the following data: mouse X-axis and Y-axis coordinates, mouse wheel scrolling amount (Z), left button click count (LB), right button click count (RB), middle button click count (MB), forward button click count (4B), and backward button click count (5B).

2.3 Mouse Data Collection Function
Mouse data collection is used to collect real-time mouse movement data and generate data statistics charts. Press the S key to start the test, move the mouse to collect data, and press the E key to end the test and generate the chart.
Press the S key on the keyboard, and move the mouse as shown in the following figure:

Press the E key to end the test and generate a test report.
Mouse polling rate report:

- By clicking on the "Plot Report" menu and selecting the type of chart, various types of graphical reports can be generated:

- Select "xCounts_vs_Time" under the plot report menu to generate a graphical report of X-axis displacement.

- Choose "yCounts_vs_Time" as the plot type to generate a graph report of Y-axis displacement.

- To generate an XY-axis displacement plot report, select the plot type "xyCounts_vs_Time" from the graphical report menu.

- Select "Interval_vs_Time" as the plot type to generate a graph report of the interval time between mouse data reports.

- To generate a real-time frequency graph report of mouse data reporting, select the "Frequency_vs_Time" option under the plot report menu.

- Select 'xSum_vs_Time' as the plot type to generate a graph report of X-axis displacement over time.

- Choosing the "ySum_vs_Time" option in the plot report menu generates a graph report of the Y-axis displacement over time.

- Select "xySum_vs_Time" as the plot type to generate the XY-axis displacement plot report.

- Selecting the "x_vs_y" option under the plot report menu generates the mouse movement trajectory plot report.

3. Manage your keyboards
Get ready to take your MelGeek keyboard experience to the next level with MelGeek Hive! Our powerful desktop management software lets you customize your keyboard with ease. With features like key mapping, LED RGB customization, macro creation, shortcut setting, and firmware upgrades/downgrades, the possibilities are endless. Want to program your keyboard to your favorite game or application? No problem! Need to adjust the LED RGB lighting to match your setup? Easy peasy! Want to set up macros to streamline your workflow? Piece of cake! Find the very keyboards of yours below and we will show you how MelGeek Hive can help you unlock the full potential of your MelGeek keyboards.
- Mojo68 please refer
Mojo68 Tutorials on MelGeek Hive
- Mojo84 please refer
Mojo84 Tutorials on MelGeek Hive
- MelGeek Pixel please refer
MelGeek Pixel Tutorials on MelGeek Hive
- MojoPad please refer
MojoPad Tutorials on MelGeek Hive
4. MelGeek Hive Future Updates
In future releases, MelGeek Hive will unveil even more exciting features. Stay tuned for updates!


